awstats分析Nginx日志超强(教程更新,纯实战)

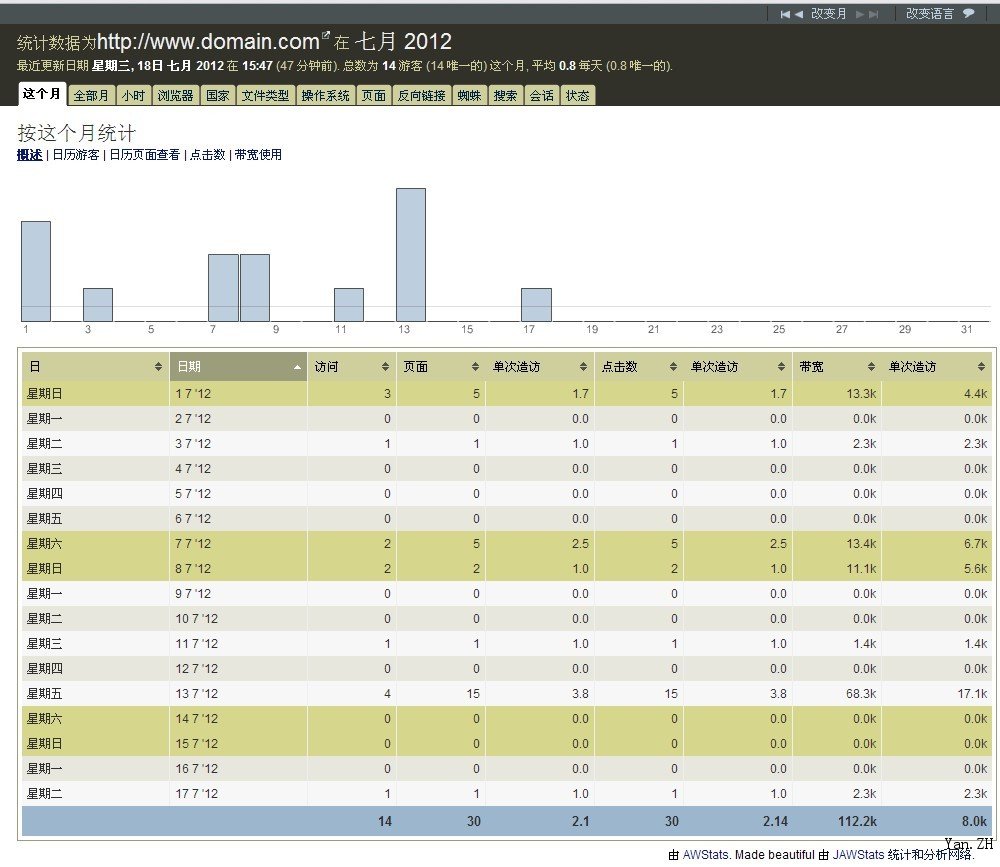
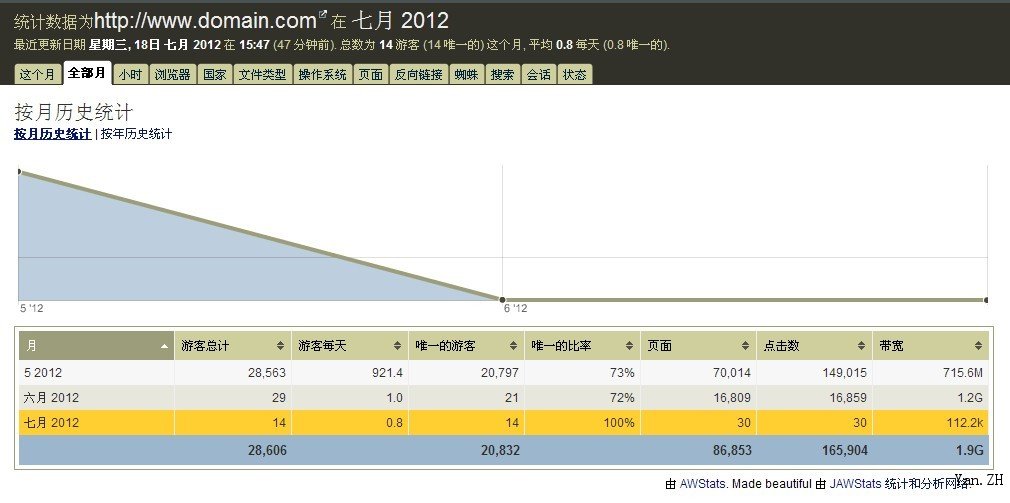
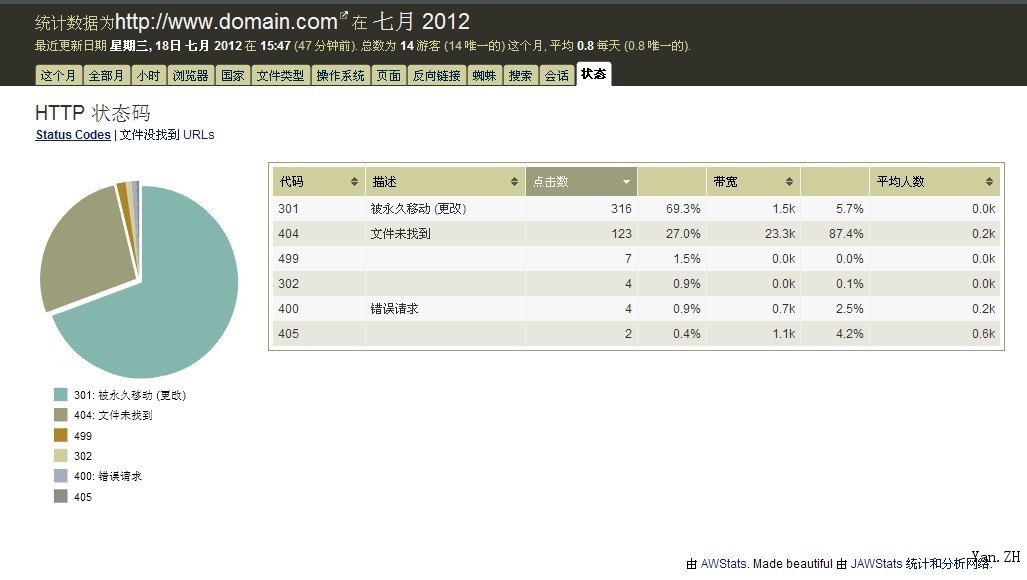
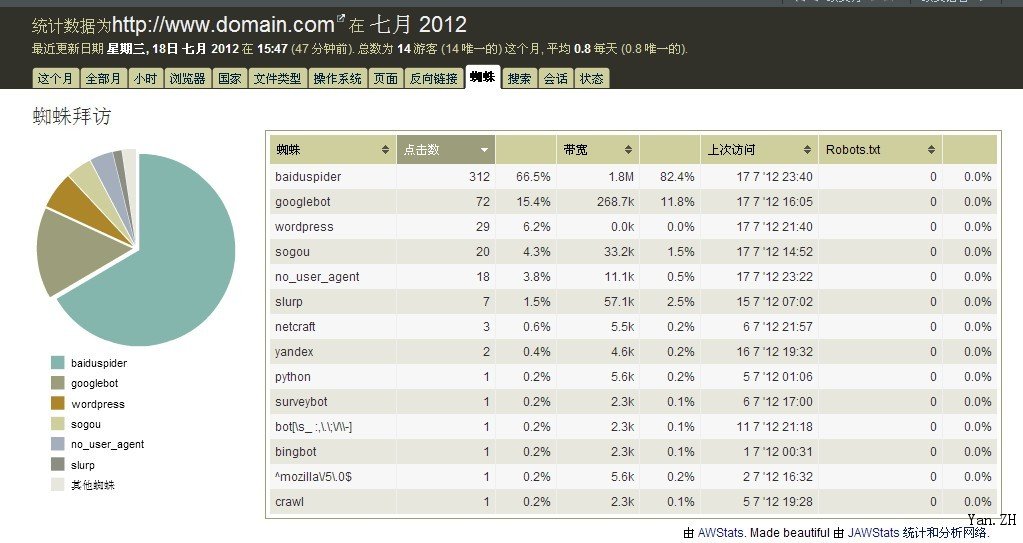
一个朋友要弄个小博客,叫我帮忙搞下,就LNMP一键安装包,也没什么好搞的,乘着自动安装至于,去度娘看了下还有什么要安装的,就装了个awstats,分析每天Nginx产生的日志。来访者,爬虫记录,流量来源,页面停留。。。。不得不说太强大了。
如果在配合jawstats,估计流量统计工具都可以省了。
整个工具小巧,做个定时任何,每天凌晨在日志切割后,自动生成

兄弟们,可以搞起来试下。
第一次发帖,大家多多鼓励撒!
很多人都说还不够详细,趁着下午工作不是很多,于是找了台VPS,完完整整的配置了遍,希望能帮到论坛朋友
弄这个需要很长时间,还要截图,还可能要排错,将最终最好的方法呈现给大家,希望大家能多多鼓励,也希望大家能多出点有意义的东西互相分享,才会有进步
—————————————————————————————
华丽的分割线
教程开始
————————————————————————————-
安装环境
军哥LNMP0.9一键安装包
建立一个存放脚本的目录
# mkdir -p cut
使用shell脚本定时切分的
j建立脚本#vi cut_log.sh
脚本如下
#!/bin/bash
# The Nginx logs path
logs_path=”/home/wwwlogs/”
# ?
logs_names=(access xxx.xxx)
num=${#logs_names[@]}
for((i=0;i
log_name=”${logs_path}${logs_names}.log”
if [ -f "$log_name" ]; then
mv ${logs_path}${logs_names}.log ${logs_path}${logs_names}/$(date -d “yesterday” +”%Y%m”)/${logs_names}_$(date -d “yesterday” +”%Y%m%d”).log
fi
done
/usr/local/nginx/sbin/nginx -s reopen
给脚本个权限:
chmod a+x cut_log.sh
我们执行下,看有没有成功:

如果你们跟我这个结果一样,那么脚本切割成功,并且日志格式是正确的,这个是关键的关键。因为awstats对日志格式有严格的要求!
然后让它每天0时起开始进行,执行crontab -e加入以下代码再按:wq保存退出,这里我将此脚本放在/root/下,切记要给它可执行权限(chmod +x cut_log.sh).
00 00 * * * /bin/bash /root/cut_log.sh
第二:
然后就是安装Awstats,我安装的为当前最新版,Version: 7.0
awstats的安装不需要编译,只需要下载后解压到你需要的路径,/usr/local
wget http://awstats.sourceforge.net/files/awstats-7.0.tar.gz
tar -zxvf awstats-7.0.tar.gz
mv awstats-7.0 /usr/local/awstats
修改权限,wget下载下来的包中权限是非root的,赋予过权限之后,.pl的文件也就可以运行了。
chown -R root:root /usr/local/awstats
chmod -R =rwX /usr/local/awstats
chmod +x /usr/local/awstats/tools/*.pl
chmod +x /usr/local/awstats/wwwroot/cgi-bin/*.pl

一路按照我的命令敲过
这就算安装完成了,下面就是新建配置
/usr/local/awstats/tools/awstats_configure.pl
按提示输入下面信息
—–> Running OS detected: Linux, BSD or Unix
—–> Check for web server install
Enter full config file path of your Web server.
Example: /etc/httpd/httpd.conf
Example: /usr/local/apache2/conf/httpd.conf
Example: c:\Program files\apache group\apache\conf\httpd.conf
Config file path (‘none’ to skip web server setup):
>none #由于使用Nginx,所以输入none
Your web server config file(s) could not be found.
You will need to setup your web server manually to declare AWStats
script as a CGI, if you want to build reports dynamically.
See AWStats setup documentation (file docs/index.html)
—–> Update model config file ‘/usr/local/awstats/wwwroot/cgi-bin/awstats.model.conf’
File awstats.model.conf updated.
—–> Need to create a new config file ?
Do you want me to build a new AWStats config/profile
file (required if first install) [y/N] ?
y #我们需要新建一个配置
—–> Define config file name to create
What is the name of your web site or profile analysis ?
Example: www.mysite.com
Example: demo
Your web site, virtual server or profile name:
>xxx.com #配置文件的名字,为了区分多域名,建议使用域名
—–> Define config file path
In which directory do you plan to store your config file(s) ?
Default: /etc/awstats
Directory path to store config file(s) (Enter for default):
> #使用默认路径就好,直接回车
完成配置文件的创建后,我们还要修改一下。因为我们是按天切割的日志,切割完成后交由awstats去分析。并不是让awstats去分时正在时时增长的也就是正在被写入的日志,这样的好处是不至于遗漏数据,并且分析已经切割完成的日志,更不用担心会有冲突。坏处是我一天切割一次日志,你要等第二天才能看昨天的一些详细数据。
修改/etc/awstats/awstats.xxxx.com,例如你的域名为123.com:
vi /etc/awstats/awstats.123.com.conf
找到
LogFile=”/var/log/httpd/mylog.log”
修改为:
LogFile=”/home/wwwlogs/xxx.com/%YYYY-24%MM-24/xxx.com_%YYYY-24%MM-24%DD-24.log”

接下来可以测试一下awstats分析日志了(前提是你已经有了切割过的日志,没有的话可以先退行一下切割日志的脚本/root/cut_log.sh)
首先,还要创建一个awstats用于记录数据的目录
mkdir -p /var/lib/awstats
然后运行awstats的wwwroot目录中的awatsts.pl来测试一下
如果像下面这么显示,就表示配置成功
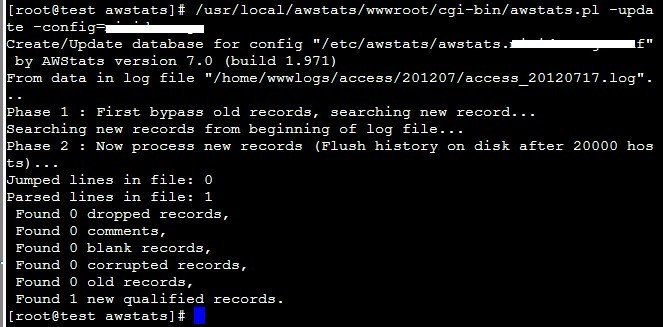
统计分析完成后,结果还在 Awstats 的数据库中。在 Apache 上,可以直接打开 Perl 程序的网页查看统计。 但本文开始时已经提到,Nginx 对 Perl 支持并不好,所以我们要换个方法,利用 awstats 的工具将统计的结果生成静态文件,具体的步骤如下:
建立目录存放静态页面:
mkdir -p /home/wwwroot/awstats
然后建立一个脚本,用crontab定时运行这个脚本生成静态页面
mkdir awstat.sh
vi awstat.sh
脚本如下
#!/bin/bash
logs_names=(xxx.com xxx.net)
num=${#logs_names[@]}
for((i=0;i
/usr/local/awstats/tools/awstats_buildstaticpages.pl -update \
-config=${logs_names} -lang=cn -dir=/home/wwwroot/awstats/${logs_names} \
-awstatsprog=/usr/local/awstats/wwwroot/cgi-bin/awstats.pl
chown -R www.www /home/wwwroot/awstats/${logs_names}
done
给个权限执行下
[root@test cut]# chmod a+x awstat.sh
[root@test cut]# ./awstat.sh
好了,看下执行后的结果
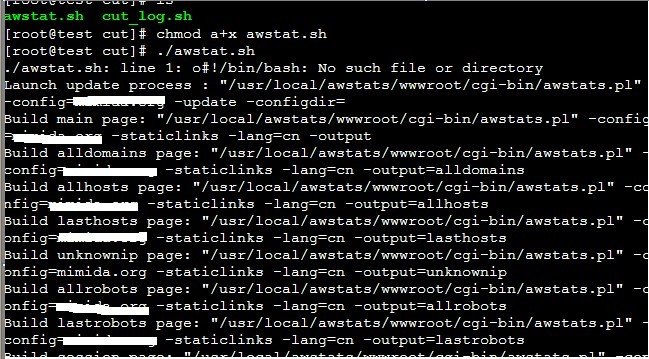
好了,数据生成了,搭建OK了
我们在浏览器上访问下!

OK 完全成功!
IE访问:
http://your ip/awstats/xxx.com/awstats.xxx.com.html
对了,忘了一步。
然后为了页面能正常显示里面的图片,需要在nginx的配置文件中加入这段,修改/usr/local/nginx/conf/nginx.conf
location ~ ^/icon/ {
root /usr/local/awstats/wwwroot;
index index.html;
access_log off;
}
至此,awstats分析Nginx日志基于军哥LNMP一键安装包搭建成功,只要按照我这个步骤,完完全全可以搭建成功。
下一集我将更新awstats的重要插件jawstats
看上图,就知道有多么强大了
